Introduction
I often setup Windows 98 in a 86Box instance, using it for many purposes such as running old games, but it gets tiring having to enter the product key over and over again.
I also often try new hardware such as graphics cards which means that Windows 98 will need to be installed again anyway, So, I decided to setup a automated installation disk to make it quicker.
What you'll need:
You'll need 3 parts:
- The script below
- A copy of the Windows 95 Format Utility from the boot disk
- A setup answer file
The Script
Original Script
Improved Script
What's changed?
- Made script 80 Column compatible
- add copy
Copy the code above into a file, save it. I recommend naming it setups.bat to prevent any potential conflicts.
Creating the setup answer file
The setup answer file is the main part, it contains all the answers setup expects. To create it, we need to install a program located on the CD-ROM for windows 98, located at D:\tools\reskit\batch\
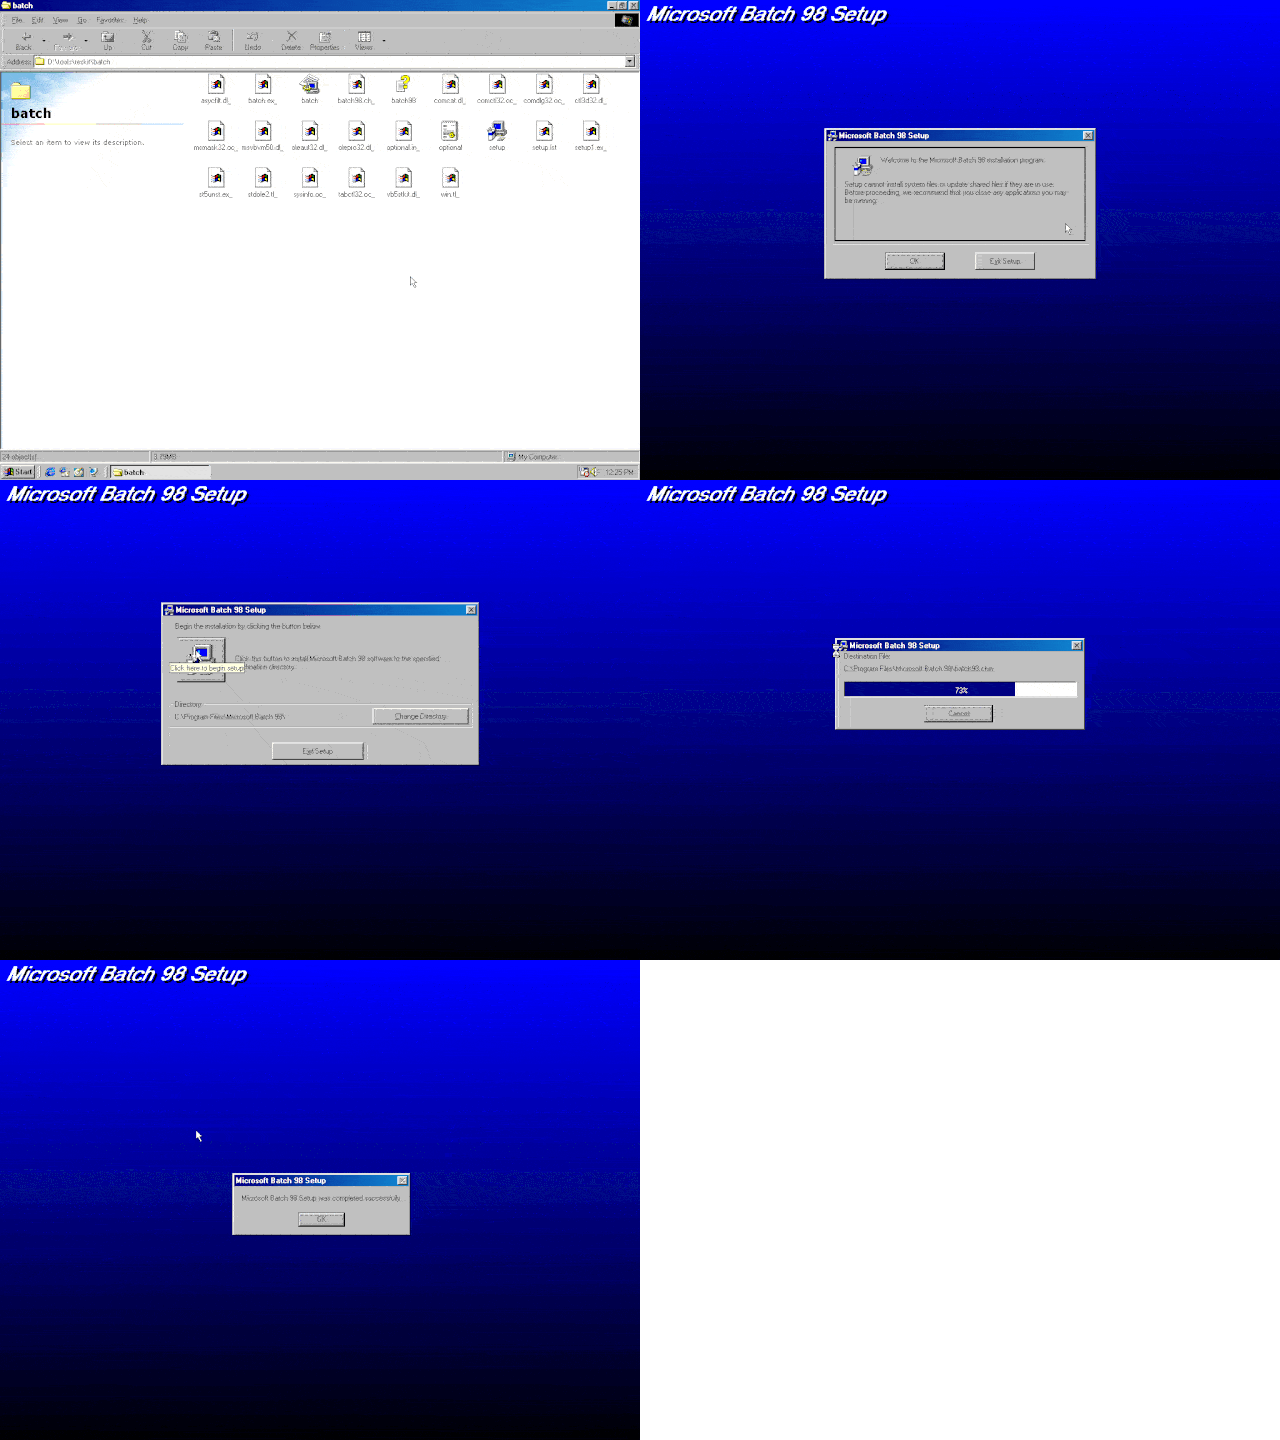
There will be a file in this directory named Setup.exe, This will set it up.

This GIF will show you the process to set it up.
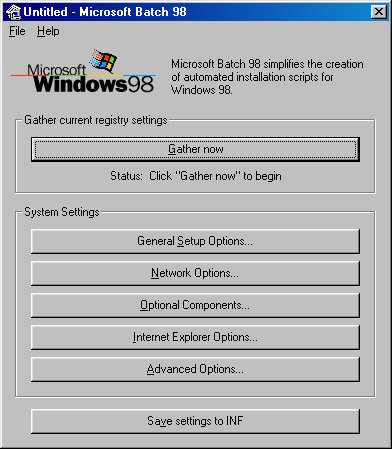
To launch Batch 98, Open it from the start menu. You should see this window:

To begin, click "Gather now", This will collect most infomation that setup will need, Then go through each options menu (The 5 buttons below the gather button) and make sure they are correct.
Usually, leaving it on the defaults will work fine, but you should go through each of the 5 options menus and do the following:
General Setup Options
Install Info - Product Key: Enter your windows product key here.
Setup Prompts - Skip the PC Card (PCMCIA) Wizard - Before toggling this on, note the caution message.
Regional settings - Entire section - edit this to match your keyboard and locale settings.
Optional Components
Select all the components you want. I usually select all of them, unless disk space is at a premium
Internet Explorer options (Optional)
You can turn off the active desktop and folders here.
If you plan to connect this to the internet (Such as with protoweb or theoldnet proxy), you can also add it here
Edit the rest of the settings to your preference.
Creating the floppy
Insert a new or unused floppy disk into the drive and format it.
On a side note, I plan to create some inkscape templates for a more professional label. Keep your eyes peeled.
Once the floppy disk is formated, go back to Batch 98 and then click Save Settings to INF. Select the newly formatted disk as the save destination.
Next, Insert your Windows 95 boot floppy (It must be from a 95 boot disk. A MS-DOS one will not work.). Copy "Format.com" from it to the desktop.
Put back in the disk we just formatted, and copy "Format.com" to it.
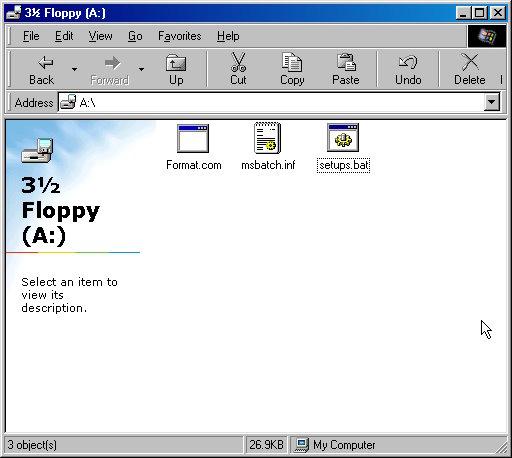
Finally, copy the script into a batch file, then save it. If you've done everything correctly, your disk should look something like this.

Testing
We should test it now, to make sure we've done it correctly. To do this I will use 86box with the following configuration
- Machine Type - Slot 1
- Machine - [i440BX] HP Vectra VEi 8
- CPU - Intel Pentium II (Deschutes), 166MHz
- PIT Mode - Auto
- Memory - 256 MB
- Softfloat FPU - Off
- Video [AGP] 3DFX Voodoo3 3000
- Logitech/Microsoft Bus Mouse
- [ISA16] Sound Blaster 16 PNP
- Networking - [PCI] Realtek RTL8029AS (Via SLiRP)
- LPT1 Device - Generic ESC/P Dot-Matrix
- Serial1, Serial2 - Enabled
- Parallel port 1 - Enabled
- HD/FD - Internal controller
- IDE (0:0), 8GB (8191MB), 16644, 16, 63
- 2 1.44MB floppy drives
- ATAPI (0:1) CD-ROM - 52x, 86BOX CD-ROM 1.00
- No other devices
Boot into the virtual machine and into the windows 98 boot disk (Selecting the second option "Start computer with CD-ROM support"). Before running the script, run a program called fdisk to create the partitions.
Once FDisk is run, reboot the computer and select the second option again. This time, insert the automated disk we made into drive B: (Note that if you have only one floppy disk drive, you will need to copy over the copy program also.)
Run the script we saved earlier, then follow the prompts. If all goes well, you should only have to interact a few times during installation.